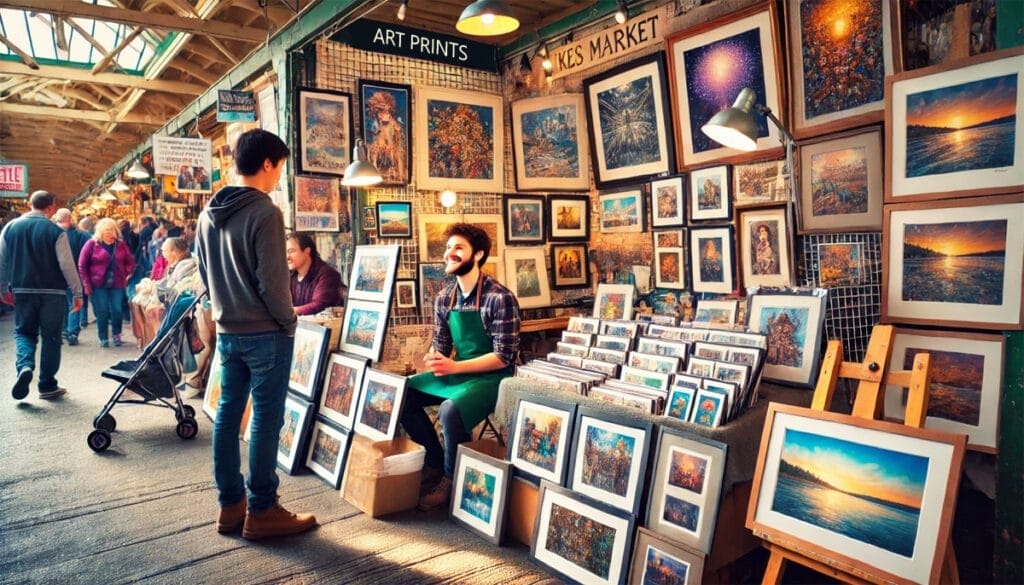
Selling your art can be a thrilling experience, especially if you’re new to the art world. One awesome way to share your creativity and earn extra cash is by turning your art into prints. This way, you can make multiple copies of your original pieces and reach a bigger audience. It’s like having a superpower that helps you get noticed and build a loyal fan base!
At first, the process might seem like a puzzle, but trust me, it’s easier than you think. You just need to digitize your artwork, pick a printing method, and find a reliable vendor. Follow some simple steps, and voilà! You’ll have high-quality prints that capture the magic of your original work. Plus, selling prints can open doors to new opportunities and help you become a rockstar artist!
Remember, every famous artist started from scratch. So, take a deep breath, gather your stuff, and prepare to unleash your art on the world!

Key Takeaways
- Digitize Your Artwork: Create digital versions of your original pieces using a scanner or a high-quality camera. Ensure the images are high-resolution to maintain print quality.
- Edit and Enhance: Use software tools to adjust color balance, brightness, and contrast, ensuring your digital files look their best before printing.
- Choose a Print Method: Based on your artwork style, cost, and desired quality, decide between digital printing, screen printing, or other methods.
- Select a Reliable Vendor: Research and choose a print vendor that offers good print quality, reasonable pricing, and timely delivery. Read reviews and ask for samples.
Preparing Your Artwork for Print
Creating digital versions of your artwork is the first step in creating high-quality prints. The quality of the digital image directly impacts the quality of the final art prints. Fortunately, there are various ways to achieve this, each with its own advantages and considerations, which we’ll explore in detail.

Learn the essential steps to prepare your art for print, from digitization to editing and formatting. Ensure your prints accurately represent your original piece and discover the best practices to make your artwork shine in physical form.
Getting a Digital Version of Your Artwork
You need a digital version that accurately represents your original piece to create high-quality prints of your artwork. There are several methods to achieve this, each with advantages and disadvantages.
1. Scanning – Scanning is a popular method for capturing digital versions of artworks, especially for flat pieces like paintings or drawings. While scanning is cost-effective and quick, it may not capture colors accurately, especially for vibrant or textured artworks, and it can also be difficult to scan large or irregularly shaped pieces.
2. Photography—Photographing your artwork is another option, ideal for 3D pieces or those with complex textures. This method can capture detailed textures and colors and is suitable for large or irregularly shaped artworks. However, it requires a good camera and photography skills to ensure accurate color representation and may introduce shadows or reflections.
3. Professional Digitization Services – Specialized companies offer high-end digitization services using advanced equipment and expertise. These services ensure accurate color representation and high-quality images suitable for valuable or large artworks but are more expensive than scanning or photography, and may require shipping your artwork to the service provider.
4. Smartphone Apps – Some smartphone apps, like PhotoScan , CamScanner, or ScanCafe, can help you capture digital versions of your artwork using your phone’s camera. These apps are convenient and accessible, often including editing and enhancement tools, but may not produce high-quality images of detailed or textured artworks.
When choosing a method, consider the size, complexity, and value of your artwork, as well as your budget and desired level of quality.
Understanding Resolution and File Format
When preparing your artwork for print, you need to understand the resolution and file format requirements to guarantee that your prints will look their best.
Understanding image file formats and resolution is essential when preparing artwork for print, ensuring the best possible quality. Here is an explanation of some of the terminology.

Resolution measures the amount of detail in the image. A high-resolution image has lots of detail, making it clear and sharp. However, a low-resolution image will have less detail and appear fuzzy or pixelated.
- DPI (Dots Per Inch): Measures the detail of an image. Higher DPI means a clearer print, but may result in a smaller size.
- Pixels: The smallest measurement of a digital image. More pixels mean more clarity.
- PPI (Pixels Per Inch): Coincides with DPI and signifies the number of photo information elements used in a print.
Calculating Print Size—If you already have a digital image, you can calculate the size of print that can be produced while maintaining quality. Divide the image’s pixel width and height by the print resolution you want (300 is a good choice), and you have your print dimensions in inches.
Example: If your image file is 2400 x 3000, then the print size at 300 dpi resolution would be 8in (2400/300) by 10in (3000/300)
Higher resolution reduces image size. A common print resolution is 300 DPI for a balance between clarity and size.
Common Image File Formats:
- JPEG (.jpg): Compressed format, recommended for use. Allows for compression setting adjustment.
- TIF (.tif): Lossless format, retains all information, but results in larger file sizes.
- PDF (.pdf): Portable document file that can be used for images but may require specific settings.
By understanding image file formats and resolution, you can ensure your artwork is prepared for high-quality printing and achieve the desired results. For a more detailed description, check out this article: Understanding Image Size, Resolution and Photo Quality
Editing and Enhancing Your Artwork
You’ve got your artwork digitized, and now it’s time to make it pop! Editing and enhancing your image is like putting the finishing touches on a masterpiece. You want to ensure it looks its absolute best when printed.
Tips from the Pros
- Color Check: Double-check that your artwork’s color profile matches your print supplier’s needs. You don’t want any unexpected color surprises!
- Brighten Up: Adjust the brightness and contrast to make your artwork shine. It’s like finding the perfect lighting for a gallery showcase.
- Save a Copy: Keep a copy of your original file safe and sound. You never know when you might need to go back to the beginning.
The Right Tools for the Job – Choosing the right software and tools is like selecting the perfect brush for your art. Here are some top picks:
- Adobe Photoshop: Industry-standard for editing and manipulating images, with advanced features for color correction, retouching, and more.
- Skylum Luminar: A powerful and user-friendly editor with many tools and filters for enhancing and transforming images.
- Capture One: A professional-grade editor specifically designed for photographers and artists, offering advanced color grading and editing tools.
- GIMP: A free and open-source editor with many features similar to Adobe Photoshop, ideal for artists on a budget or who prefer open-source software.
Don’t be afraid to try new things and see what works best for your artwork. Editing and enhancing is all about finding that perfect balance. Remember, the goal is to make your art shine, not to change it completely.
Another Option: Custom Printed Jigsaw Puzzles

Not everyone may be looking for art prints, but who doesn’t love a good jigsaw puzzle?
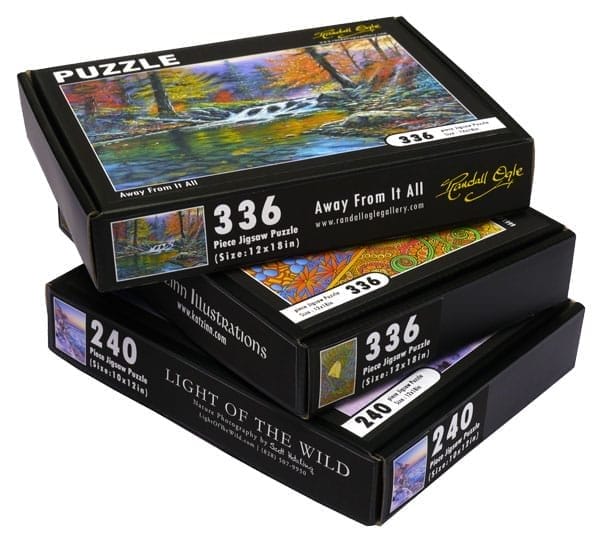
Consider turning your art into custom puzzles to reach a wider audience and boost sales. It’s a fun and unique way to share your creativity, and puzzle enthusiasts will love the challenge of piecing together your masterpiece.
Plus, it’s easier than you think! Vendors like PuzzlesUnlimited.com specialize in custom-printed puzzles in small quantities, making it accessible for artists to test the waters. Imagine seeing your art come to life in a 500-piece puzzle – it’s a thrilling way to experience your creativity.
By offering jigsaw puzzles, you’ll attract a new crowd of art lovers who may not have been interested in traditional prints. It’s a great way to diversify your products, increase your reach, and sell more art. So why not give it a try? Your art deserves to be puzzled over!
Selecting a Print Method
You’re ready to turn your artwork into prints, but first, you need to choose a print method.
Your chosen print method can make all the difference when selling prints of your artwork. It’s like baking a cake—if you use the wrong ingredients or cooking technique, the final product won’t be the same. This section will explore the different print methods available, their costs, and what makes them unique.

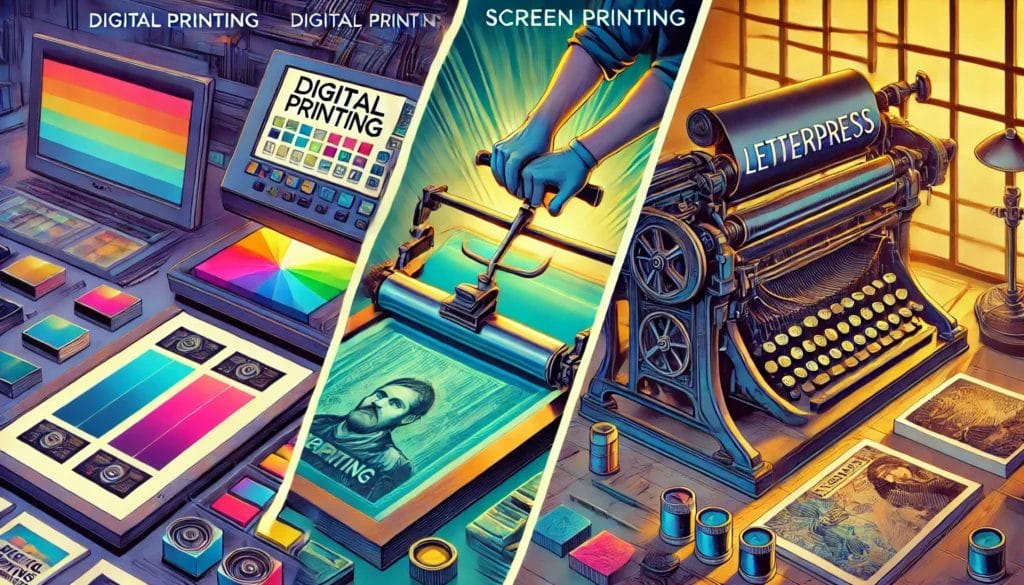
Digital Printing: The Popular Choice
Digital printing is like printing a photo from your home computer. It’s fast, easy, and cost-effective. Here’s how it works: your artwork is uploaded to a digital printer, which prints it directly onto paper or canvas. The cost? Expect to pay between $5-20 per print, depending on the size and material.
Screen Printing: For the Bold and Bright
Screen printing is like creating a stencil and painting it onto paper. It’s a bit more involved, but the results are stunning. Here’s how it works: a screen is created with your artwork, and then ink is pushed through the screen onto paper or canvas. The cost? Expect to pay between $10-50 per print, depending on the size and color complexity.
Other Print Methods: Exploring the Alternatives
Of course, there are other print methods, each with unique characteristics. Offset printing is like mass-producing a newspaper – it’s fast and cheap but not ideal for small batches. Letterpress is like a vintage printing press – it’s slow and labor-intensive but produces beautiful, tactile results. The cost? Expect to pay between $50-100 per print, depending on the method and material.
Weighing Your Options: Pros and Cons of Each Print Method
So, which print method is right for you? Digital printing is perfect for artists who want quick, affordable prints with minimal hassle. However, it may lack the tactile quality of other methods.
Screen printing offers bold, vibrant colors but is pricey for small batches. Offset printing is great for large quantities but may sacrifice quality. Letterpress provides a unique, handmade feel but is often slow and expensive.
When deciding, consider your budget, artistic vision, and production needs. Do you prioritize speed and affordability, or are you willing to invest in a more labor-intensive process for a unique look?
Choosing the Right Print Media
Selecting the perfect print media can make all the difference in showcasing your artwork. Here are some popular options, along with their unique characteristics and estimated costs per print:
- Glossy Photo Paper
Glossy photo paper is like the icing on the cake – it adds a smooth, shiny finish that makes your artwork pop! ($0.50-$2.00 per print) It’s a crowd-pleaser and perfect for photographers and artists who want a sleek, modern look. - Matte Fine Art Paper
Matte fine art paper is like a warm hug – it’s textured, non-reflective, and feels like a classic work of art. ($1.00-$3.00 per print) It’s ideal for artists who want a timeless look that exudes sophistication. - Canvas
Canvas is tactile and adds an organic feel to any artwork. ($5.00-$10.00 per print) It’s perfect for artists who want to create a unique statement piece. - Recycled Cardstock
Recycled cardstock is like the eco-friendly superhero – it’s sustainable, textured, and feels amazing. ($0.75-$2.50 per print) It’s perfect for artists who want to reduce their carbon footprint without sacrificing style. - Metallic Paper
Metallic paper is like the luxury car of print media—it’s shiny and metallic and turns heads. ($2.00-$5.00 per print) It’s perfect for artists who want to create eye-catching, contemporary pieces that dazzle. - Watercolor Paper
Watercolor paper is like its dreamy, ethereal cousin—it’s textured, absorbent, and perfect for creating delicate, ethereal pieces. ($1.50-$4.00 per print) It’s ideal for artists who want to add a touch of magic to their work.
Selecting a Print Vendor
Choosing the right print vendor is like finding a trusted partner to help you bring your artistic vision to life. It’s a key step in sharing your work with the world, and it’s essential to get it right.

When researching potential vendors, think about what matters most to you. Do they have experience working with artists and print-on-demand services? Is their website easy to navigate, and do they offer good customer service? What do other artists say about their experiences with the vendor?
Ask questions, like “Can I see samples of your work?” or “How do you handle shipping and fulfillment?“
Evaluating print quality and options is also vital. When you receive samples from vendors, take a close look:
- Do the colors pop?
- Is the image sharp and clear?
- Does the paper feel high-quality?
Consider the finishing options, like matting and framing, and how they’ll enhance your art.
Finally, let’s look at the bottom line: pricing and turnaround time. Calculate the total cost, including print, shipping, and your desired profit margin. Ask vendors about production time, shipping time, and rush order options. This will help you plan and ensure your art reaches your audience when needed.
By taking the time to research, evaluate, and understand your options, you’ll find a print vendor who will help you bring your artistic vision to life.
Bringing Your Art to Life: The Power of Print
Congratulations! You’re ready to take the first steps towards sharing your art with the world.
Remember, printing your art is not just about reproducing your work – it’s about sharing your vision, telling your story, and connecting with others on a deeper level. It’s about taking your art from a personal expression to a public experience.
Following these steps, you’ll create high-quality prints that showcase your talent and open doors to new opportunities. You’ll be able to sell your art, build a loyal fan base, and join a community of like-minded creatives who inspire and support each other.
Don’t be afraid to experiment, try new things, and push the boundaries of what’s possible. Printing your art is a journey, and making mistakes is okay. Most importantly, you’re leaping and sharing your art with the world.
Now you know How to Make Prints of Your Art to Sell. So go ahead, take a deep breath, and unleash your creativity. The world is waiting for your art.


